How To Apply Matte Varnish on a Reborn Doll
Many amateur doll artists overlook the importance of using a matte varnish on their reborns. While it isn’t isn’t technically considered a necessary step in the reborning process, there are several reasons why you should invest your time and energy into applying the varnish. The hour or so it takes to apply it will result in a more natural-looking skin tone that lasts longer and is more durable than before, making it worth the extra effort in the end.
Unfortunately, however, the application of matte varnish is a bit different than traditional paint, creating a difficult barrier of entry for inexperienced artists. If you try to apply matte varnish on your reborn using the same method as you did for their paint, you’ll end up with a rough skin surface that may even look blotchy in certain areas. Babies are naturally soft, hence the term baby soft, so you want to avoid creating a rough skin surface on your reborn. Keep reading and we’ll reveal the steps to successfully applying a matte varnish on a reborn doll.

Benefits of Using Matte Varnish on a Reborn
Are you still debating whether or not an application of matte varnish is worth your time? Sure, it will add a little bit of time to the entire reborning process and even cost you a little bit extra, but most experienced reborners will agree that it’s well worth it. Here are just a few of the many reasons why you should use a matte varnish on your reborn dolls:
- Softens up the glossy texture created after painting a reborn doll.
- Can be used to add texture to specific areas.
- Creates a protective barrier over the paint, sealing and preventing it from coming off.
- Offers a more realistic skin tone on your reborn doll.
- Keeps your doll protected against the effects of high humidity.
Step #1 – Gathering The Supplies
Once you’ve made the wise decision to use matte varnish on your reborn doll, you’ll need to pick up all of the necessary supplies. While you may already have some of these items laying around from previous reborns, chances are you don’t have all of them. You’re obviously going to need some matte varnish product if you wish to perform this on your reborn doll, so keep your eyes peeled for it the next time you’re at the store. There are several different types of matte varnish, but I recommend using Genesis Matte Varnish (GMV), as it looks amazing, works great with reborn dolls, and it’s super easy to use. Like all Genesis products, the GMV is heat activated, so you don’t have to worry about drying out your varnish when the top is off. If this is your first applying matte varnish to a reborn doll, stick with GMV and you won’t be disappointed.
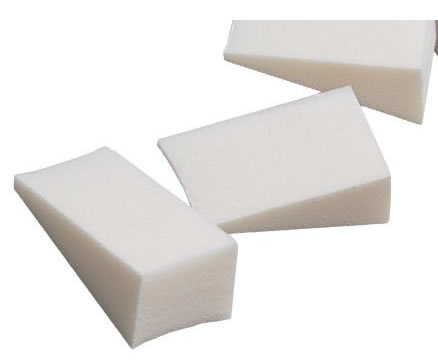
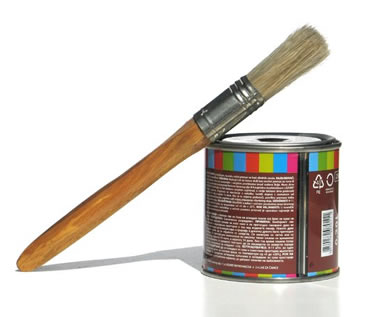
In addition to the actual matte varnish, you’ll also need to pick up a couple of medium-sized paintbrushes and half a dozen or so cosmetic wedges. You probably won’t use all of these cosmetic wedges, but it’s always nice to have some backups just in case. Paper towels will also come in handy for cleaning up any mess you happen to make (yes, messes do happen). With the exception of the varnish, all of these items can be purchased from your local Wal-Mart or arts and crafts store.
Step #2 – Prepping Your Doll
Now that you have all of the necessary supplies, it’s time to prepare your doll. This is an area where many artists commonly make mistakes, so pay close attention. You should apply the matte varnish on your doll after it’s been painted. The entire purpose of matte varnish is to neutralize the glossy texture that many reborn dolls seem to have. Painting over the varnish defeats the entire purpose of its application, making all of your hard work good for nothing. Make sure you’ve applied the base paint and have gone back over the doll with the desired coats of paint before applying a matte varnish.
As long as you’re 100% sure that you don’t want to add any additional paint to your reborn doll, you can go ahead and start applying the matte varnish. Remember, though, Genesis Matte Varnish (GMV) is heat activated; therefore, you’ll need to disassemble the limbs so they can be placed in a convection oven. If you haven’t done so already, take the limbs off your doll and lay them out on a table or your workstation. Since matte varnish can get messy, I recommend laying out some old newspapers down first.

Step #3 – Applying The Matte Varnish
Applying the matte varnish on your reborn doll is a fairly self-explanatory process. You’ll open up a jar or can of the varnish, dip the paintbrush in and gently rub it across the surface your reborn. The key thing you’ll want to remember, however, is to keep your matte varnish as thin as possible. It’s all too common for inexperienced artists to brush on blobs of varnish without realizing just how much of an effect a small amount has. Thankfully, GMV is naturally thin and usually doesn’t require any additional mineral spirits and paint thinner.
When you’re applying matte varnish to your reborn, remember the following:
- Keep the layer of varnish as thin as possible.
- Just because you don’t see the varnish doesn’t mean it’s not there. Matte varnish is more visible after it’s heated and set into the doll’s surface.
- After brushing on small amounts of varnish, use the cosmetic wedges to even it out.
- Use a thin, hard-bristle paintbrush to get deep into the hard-to-reach areas like under the eyes, around the nose and in between the fingers.
- Try to avoid getting dust or strands of fabric in the matte varnish coat, as this will harden and become stuck in your doll after heating it.
- When a cosmetic wedge becomes saturated with varnish, throw it away and use a new one.
- Remember, most reborn dolls will only require a single thin coat of matte varnish, so don’t overdo it.

Finishing Up
The last step in applying matte varnish is to heat your reborn doll parts in the oven. We’ve talked about the importance of owning and using a separate convection oven for your reborn doll hobby before, as using the traditional kitchen oven may leave behind toxins from the vinyl and paint that could seep into your family’s food. While nothing may come of it, it’s still not a risk you should take. Instead, purchase a convection oven to use specifically for heating up your reborn doll parts.
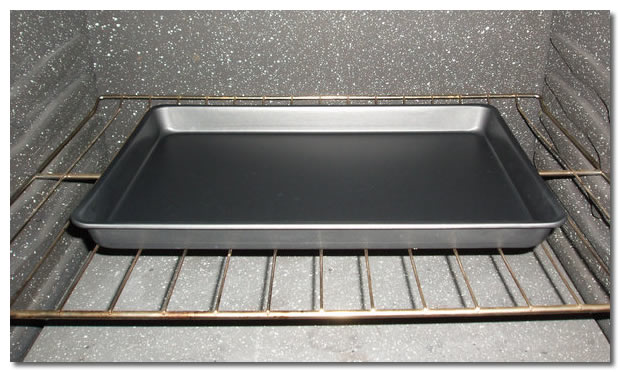
Preheat your oven to roughly 270 degrees Fahrenheit and lay out all of your varnished reborn doll parts spread evenly out on a cookie sheet. Once the oven is done preheating, place them inside and allow them to cook for 5 minutes before taking them out, flipping and cooking the other side for 5 minutes. After the full 10 minutes it up, remove the doll parts from the oven and wait for them to cool. You can then reassemble your reborn doll and marvel at the spectacular work you’ve just done!
From my experience you have to add thinner to genesis matte varnish and its weird stuff. Its reacted not at expected many times for me so read up custom doll baby has good videos on whole process. Also LINE COOKIE SHEET WITH TOWELS NEVER LET VINYL TOUCH HOT SURFACE DIRECTLY. IF YOU JUST PUT ON A COOKIE TRAY, IT WILL BE A DISASTER!
So heat varnish doesn’t need to be mixed with spirit? It seems to thick are you sure if I did mix it what would happen
Hello I’m new to reborning, although delighted with the results of painting my reborn baby, in the end I felt like crying. I used an acrylic matte varnish name brand “Liquitex” is very thin varnish, no odor, no baking. Unfortunately it made my baby glossy. I confess of applying one thick coat with a brush, and no sponge. After 6 hours of drying time, it’s still glossy, it’s not going matte. Help what can I do? Should I invest in another varnish and paint over the Liquitex matter varnish? Should I try gently sanding it? I worked for weeks on this baby, all the steps of veining, blotching, blushing, nails, eyes, lashes etc…all was well till the varnish. grrrrr!!
Thank you for your consideration and help
Sincerely,
Carolle